As mentioned previously, there are two ways to configure and manage ASA FirePOWER module using ASDM and FirePOWER Management Center. We’ll cover in both options.
Configure and Manage ASA FirePOWER Module using ASDM
Preparation
Step 1: Enable HTTP service on the ASA
By default, HTTP service is not enabled on the ASA. You need first enable HTTP service and specify the network and interface where access is allowed.
http server enable
http 192.168.0.0 255.255.255.0 inside
http 192.168.1.0 255.255.255.0 management
Step 2: Open a web browser and go to the management IP of the ASA
In our example, enter the following URL: https://192.168.1.1/admin. Here you may choose to install the ASDM client on your local computer or use Run ASDM directly from a Java-enabled browser. I recommend download a local copy of the ASDM client and use without going through the web browser every time.
Licensing FirePOWER features using ASDM
Launch and Log in ASDM using the ASA’s username and password. (Not the FirePOWER)
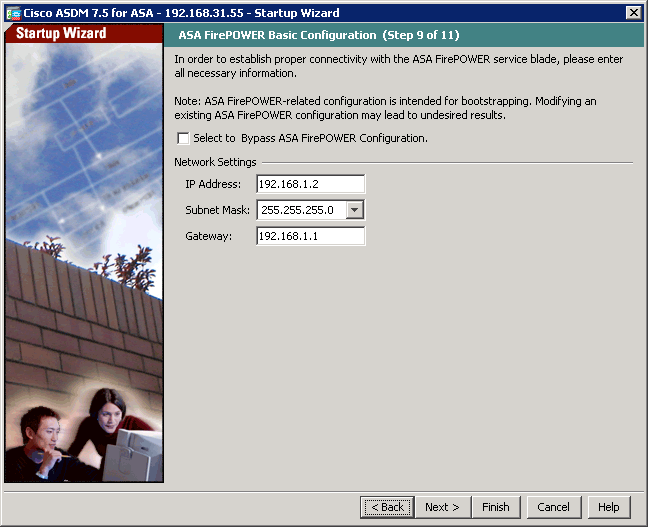
Optionally you may change or update the management IP of the FirePOWER module using the Setup Wizard.
To configure the FirePOWER module, you must login ASDM with an ASA username that has privilege level 15. If you could not find the FirePOWER Configuration option and see the warning message under ASA FirePOWER Status tab, that’s because you logged in using an account without privilege 15.

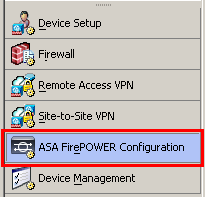
In ASDM, choose Configuration – ASA FirePOWER Configuration tab on the lower left corner and click “Licenses”.
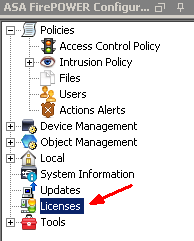
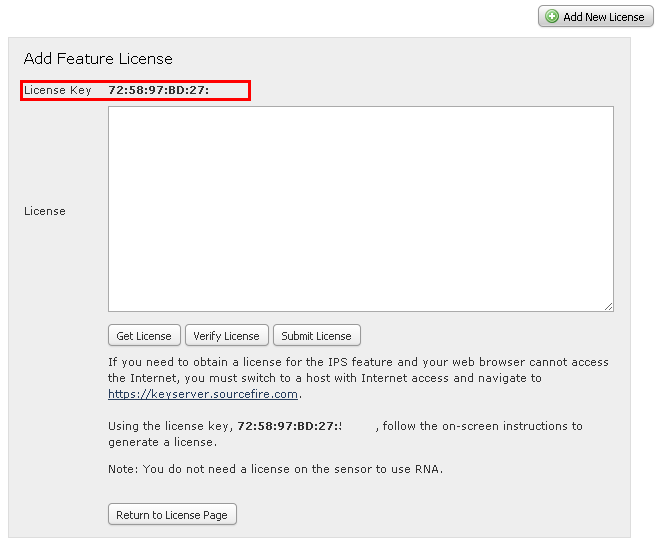
If you have not added any licenses, you will see a blank panel with the only option “Add New License” option. Click on “Add New License”.
The licensing procedure goes in the following order:
- Purchase the license from your Cisco vendor.
- Receive a Product Authorization Key (PAK) either by email or by physical mail.
- Go to Cisco Product License Registration portal http://www.cisco.com/go/license to generate a license file.
- Copy and paste the license hash strings into the FirePOWER license tab and activate.
Here are the screenshots for each step.
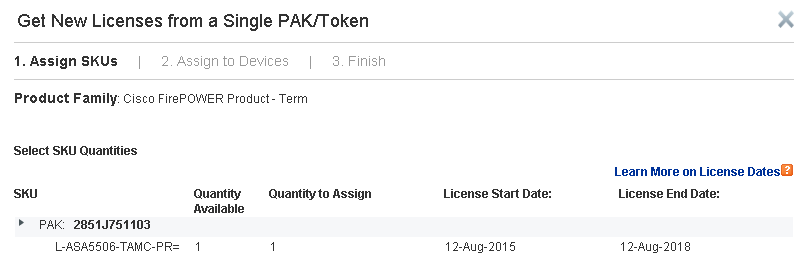
Go to http://www.cisco.com/go/license and enter PAK. Click on Fullfil

Verify the license description and click on Next.
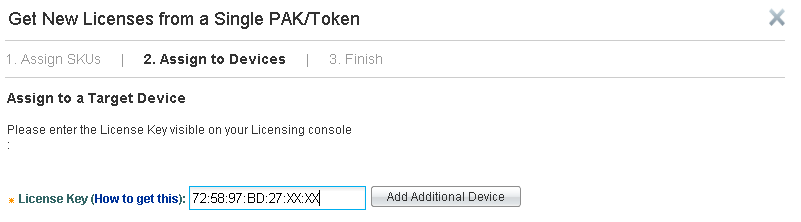
Copy the License Key from ASDM – ASA FirePOWER Configuration – Licenses and paste to Cisco web portal.
Enter your information and click on Finish.
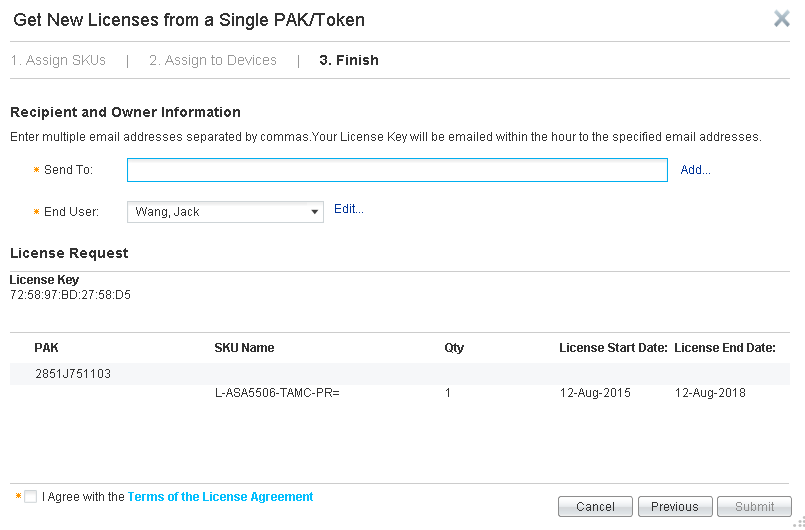
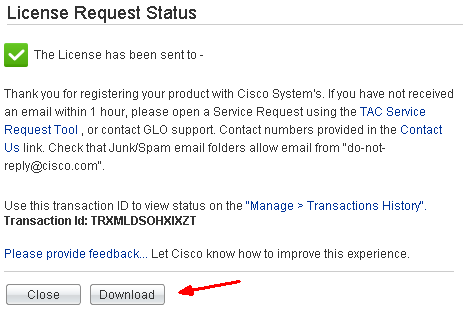
Your license file is generated and emailed to you. You can also download it directly. You will receive a .lic file in plain text format.
Open the .lic file using a text editor like Notepad. Copy and paste the content between “BEGIN” and “END” into the blank field of License on FirePOWER License in ASDM.
— BEGIN SourceFire Product License :
— END SourceFire Product License —
Tip 1: Do not include anything outside the BEGIN and END lines. Sometimes the license comes with “Device” and “Feature” descriptions. You must exclude them.
Tip 2: If you purchased multiple licenses such as Malware and URL Filtering, the licenses will come in one .lic file. You must activate one license at a time. That means, copy & paste one session of the BEGIN and END at a time and activate it. And repeat the same process to activate additional feature licenses. If you tried to copy and paste multiple licenses into the field and activate, you will receive an error “Invalid license key”.
Tip 3: Protection and Control licenses should come with the product when you purchased the ASA 5506-X with FirePOWER. Sometime I have seen customers did not receive the base Protection and Control license PAKs. You will need to open a TAC Service Request and they will generate a license file for you free of charge.
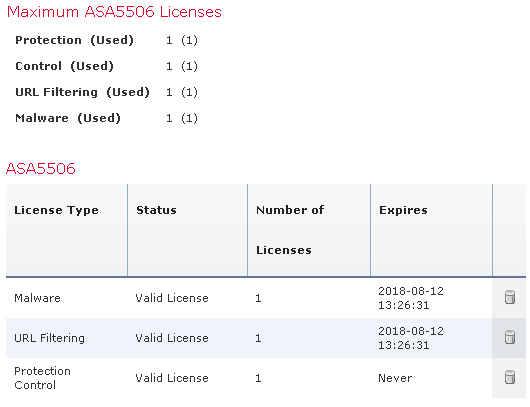
Once all the licenses have been activated, you’ll see a summary like below.
Send Traffic to FirePOWER Module to be inspected
By default, the ASA does not redirect traffic to the FirePOWER module for additional inspection. It works nothing different from a traditional firewall. The FirePOWER module works like a service card. In the Cisco ASA software architecture, traffic needs to be redirected to the service module using Service Policy configuration. You may create Service Policy on the ASA that identifies specific traffic that you want to send.
In this example, we’ll send all traffic to FirePOWER for inspection. Go to ASDM – Configuration – Firewall – Service Policy Rules and add a new Service Policy. Since we will be sending all traffic to the FirePOWER module, we’ll utilize the existing “global_policy”.
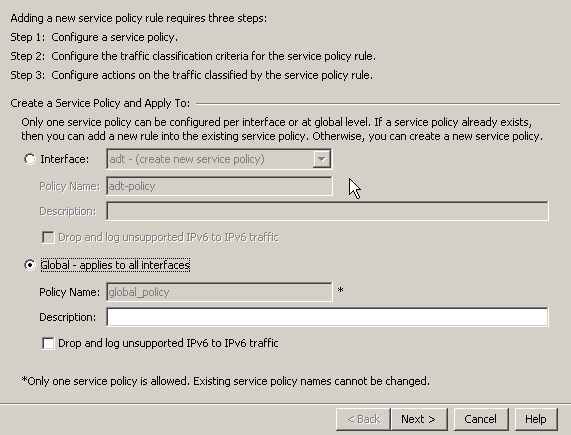
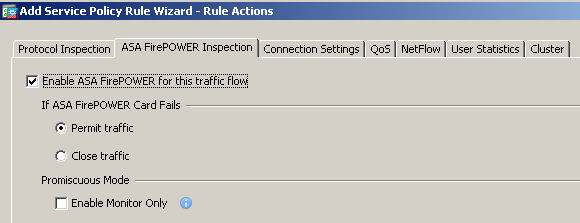
It is self-explanatory that you want all traffic to pass through the FirePOWER module when there is a software failure. (Hardware for ASA 5585-X) Apply the rule.
You may choose to configure the Service Policy rule using CLI. Here is the configuration sample..
class-map global-class
 match any
policy-map global_policy
class global-class
 sfr fail-open
It is important to note that FirePOWER only activated the ‘Default Allow All Traffic’ access control policy initially. All traffic redirected to it will be monitored but none will be dropped. You need to configure and fine tune your own FirePOWER policies in a real-world network.

FirePOWER Code Update and Rule Update
It is a good practice to periodically check and run software code updates, security patches. Similar to anti-virus signature updates, FirePOWER’s rule database also needs to be updated as soon as the new ones are released.
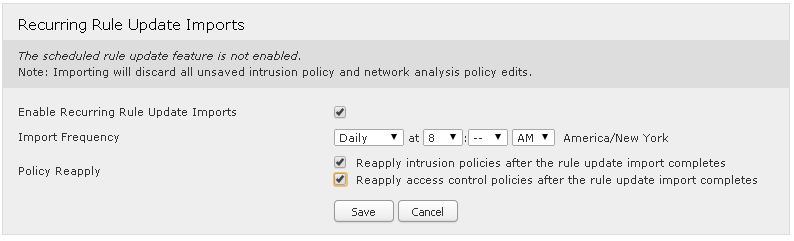
Run updates in ASDM
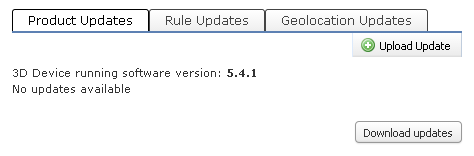
For standalone installations, you can run updates in ASDM – ASA FirePOWER Configuration – Updates. Please note you need to update all three categories:
- Product Updates
- Rule Updates
- Geolocation Updates
Continue reading:
Cisco ASA 5506-X FirePOWER Configuration Example Part 1
Cisco ASA 5506-X FirePOWER Configuration Example Part 2
Configure and Manage ASA FirePOWER Module using Management Center Part 4
The post Configure and Manage ASA FirePOWER Module using ASDM Part 3 appeared first on Speak Network Solutions, LLC.